Star Wars Jedi: Fallen Order Stim locations guide
So why are Stim Canisters so useful in Fallen Order? Opening a yellow Stim Canister Upgrade chest will permanently increase the maximum number of Stims BD-1 can dish out between Save Points by 1. Below we’ll show you where to find each of these invaluable upgrades.
Fallen Order Stim locations - full video walkthrough Bogano Stim locations Zeffo Stim locations Kashyyyk Stim locations Dathomir Stim locations
Fallen Order Stim locations - full video walkthrough
Above is an (if I do say so myself) extremely useful video walkthrough on collecting each of the eight Stim Canister upgrades throughout Jedi: Fallen Order. The video goes through each location, how to get there, and what prerequisites you need if any. I organised the locations in the video by planet, but if you’re looking for the optimum route for collecting Stim Upgrades, here’s the order you should follow:
Bogano Stim 1 Zeffo Stim 1 Bogano Stim 2 Kashyyyk Stim Zeffo Stim 2 Zeffo Stim 3 Zeffo Stim 4 Dathomir Stim
If you’re still unsure about anything after watching this video, feel free to consult our write-ups on each Stim location below.
Bogano Stim locations
Bogano is the first planet you reach after the tutorial mission on Bracca. The first of these Stim Upgrades can be reached after attaining the wall-run ability, which you’ll gain after progressing a short way through the main mission on Bogano. The second Upgrade, however, will require Force Push, which must be obtained on Zeffo first.
Bogano Stim Canister Upgrade 1 (requires Wall-Run)
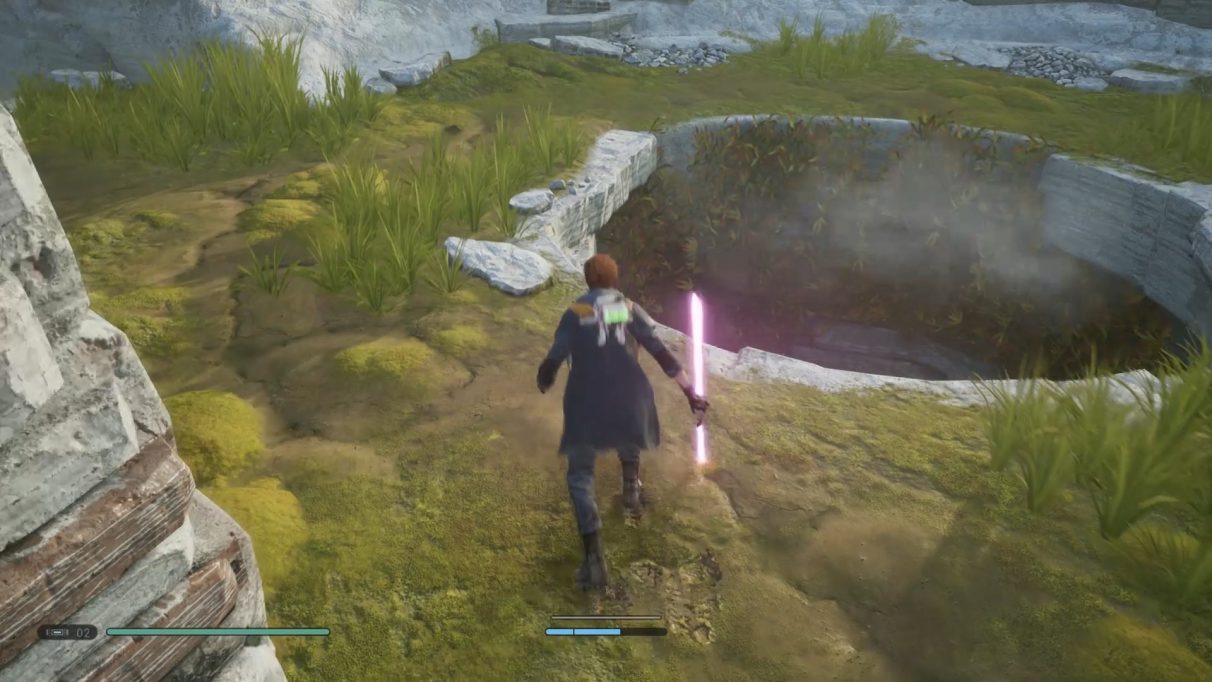
This first Bogano Stim Canister Upgrade, as mentioned, only requires you to be able to wall-run - an ability you can pick up on this very planet. Starting from the very first Save Point in front of your ship, head up the vines to the left, hop over to the arena-esque area where three Splox (the crab-like insect enemies) are waiting. Kill them, then wall-run over to the next arena area. The hole in the centre of this area has vines which you can use to climb down and reach the first Stim Canister upgrade.
Bogano Stim Canister Upgrade 2 (requires Force Push)
The second Bogano Stim Canister Upgrade requires Force Push, so you’ll have to come back here after attaining that power from Zeffo. Head down the circular spiral walkway right in front of your ship, and you’ll come across a cordoned off area with a sphere like the ones you had to push around in the Tomb of Eilram. You’ll need to push this sphere into the socket in order to unlock the door so you can reach the Stim Canister upgrade. This can be a little tricky to do (and even trickier to explain), so be sure to check our video above so you can see exactly how to do it.
Zeffo Stim locations
Zeffo is one of the two planets available to travel to after you’ve completed the first main mission on Bogano, and its enormous regions hold four out of the eight possible Stim upgrades. However, only the first can be collected from the very start. The others will require various Force Powers to reach (for more information on how you can unlock these abilities, look no further than our handy Star Wars Jedi: Fallen Order Force Powers guide).
Zeffo Stim Canister Upgrade 1 (no requirements)
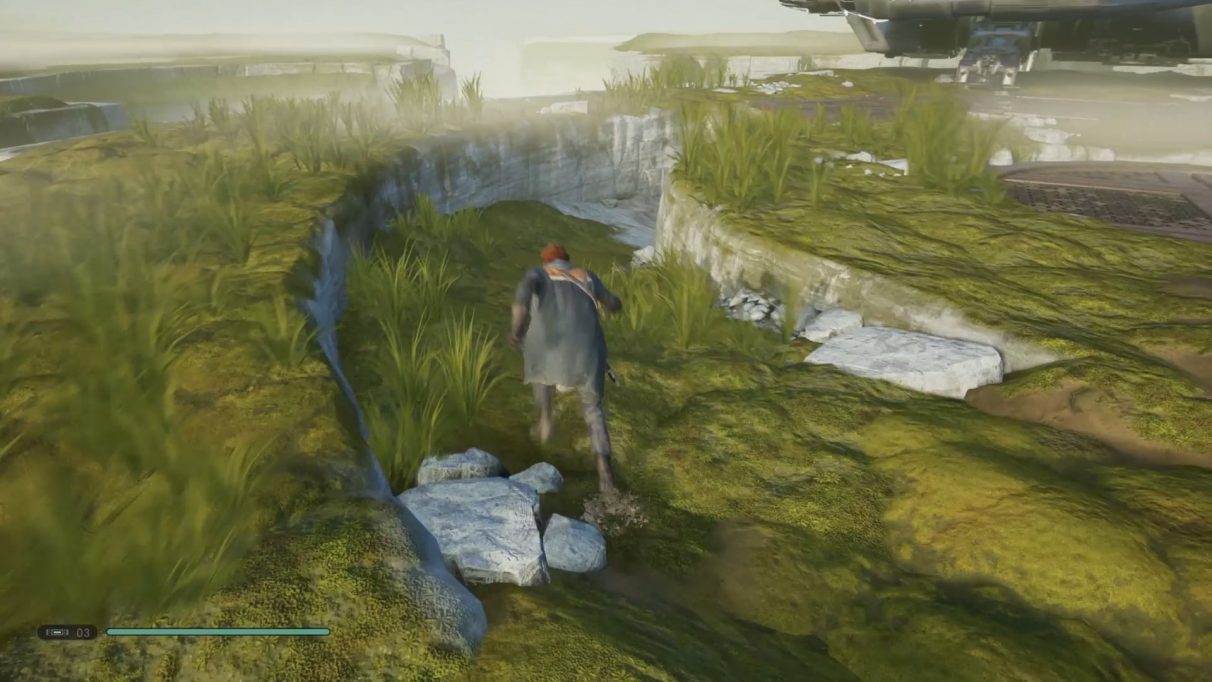
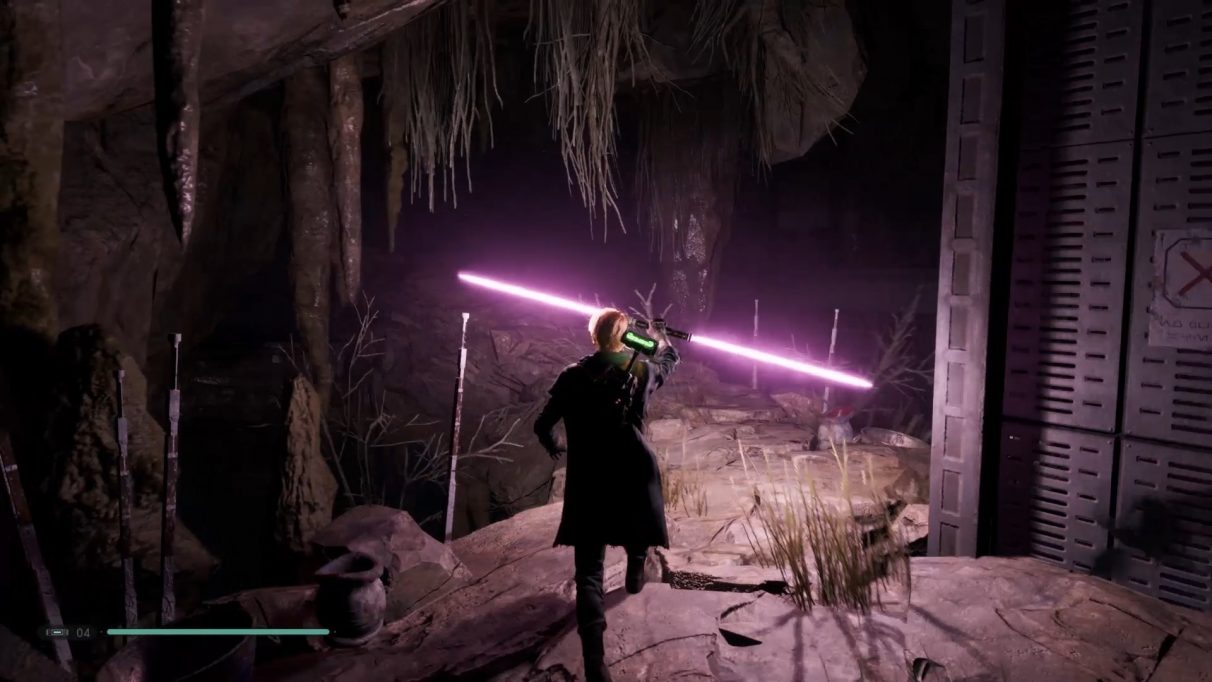
This first Zeffo Stim Canister Upgrade is extremely simple to get your hands on. From the ship, head to the right where you’ll find the two Scazz (read: red doggos) gnawing adorably at the Stormtrooper corpse. Kill them, head up the left path, kill three more Scazz, and then jump over to the ledge on the far right. This path will lead you into a dark cave which you can illuminate with your lightsaber. Simply follow the path round up to the top where you’ll find the first Zeffo Stim Upgrade waiting for you.
Zeffo Stim Canister Upgrade 2 (requires Force Pull & Powered Zipline)
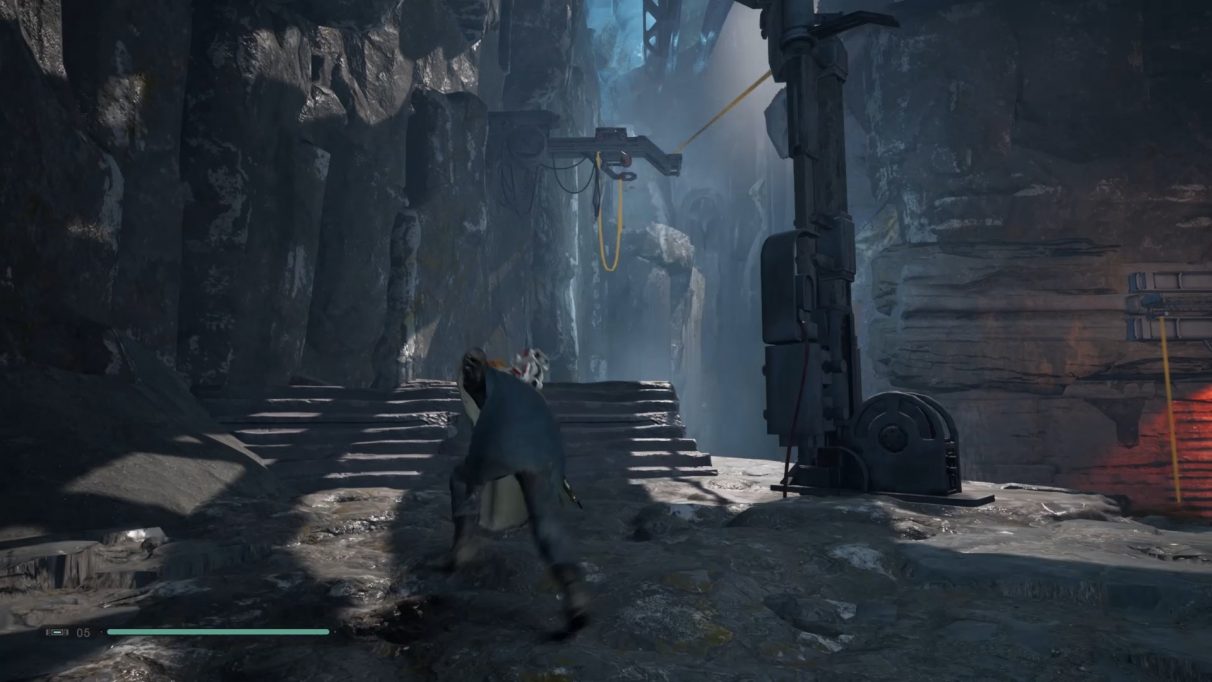
The next Stim Canister Upgrade on Zeffo is more costly in ability requirements. You’ll need to get past the Tomb of Miktrull in order to unlock Force Pull (during which journey you should also unlock the Powered Zipline for BD-1, allowing you to traverse up ziplines as well as down them). Head back to the Imperial Dig Site, to the Save Point right outside the lift which took you down to the arena where you faced the Second Sister for the first time (since the tutorial mission). From here, head towards the broken staircase, Force Pull the rope in front of you, swing into the path of the air vent which will buffet you upwards onto the zipline above. If you catch this zipline, it will bring you to a new ledge which you can follow to find another Stim Canister Upgrade.
Zeffo Stim Canister Upgrade 3 (requires Force Push & Powered Zipline)
While this Stim location only requires Force Push rather than Force Pull to complete, you must still wait until you return to Zeffo for the second time as part of the story because it also requires the Powered Zipline unlock. This time you’ll want to head to the large bridge in the Imperial Dig Site, and defeat the Stormtroopers and Probe Droids there. Right next to the lift, on the right-hand side you’ll see a zipline. You’ll need to head up this zipline a short distance, then jump off so that you hit the ledge below. Don’t go all the way to the end of the zipline, or you’ll miss it. It can be a little tricky, but once you reach that ledge, head down the pipe, Force Push the wall, and you’ll find another Stim Upgrade for your trouble.
Zeffo Stim Canister Upgrade 4 (requires Double Jump)
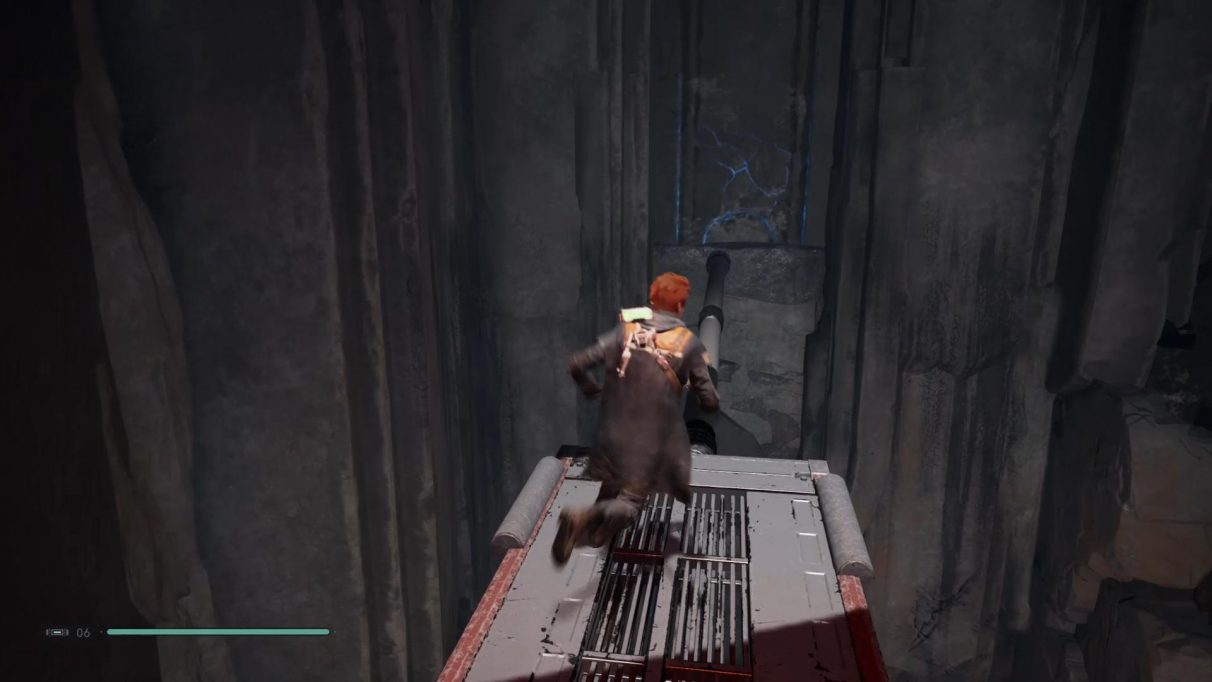
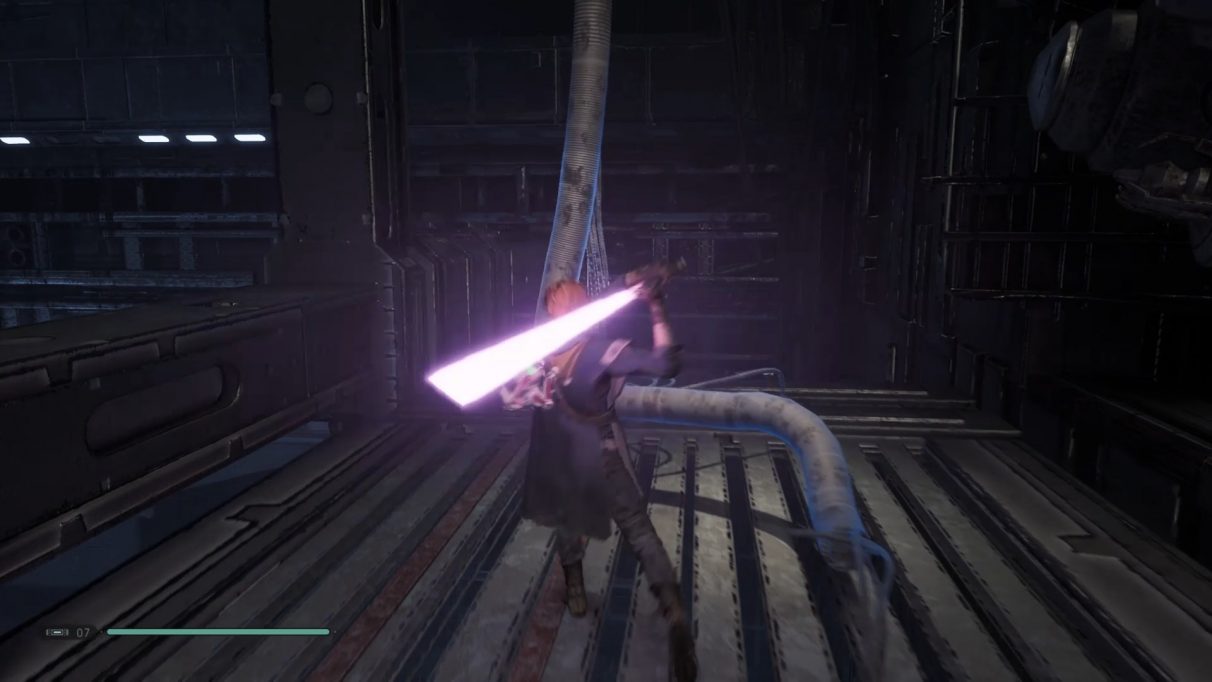
The final Zeffo Stim Canister Upgrade can be found in the Venator wreckage, and requires you to have all of your powers and abilities unlocked (if you’ve got Double Jump, you’re good to go). Proceed through the wreckage until you reach the high-up Save Point which leads into a puzzle room with a large cube that can be pushed and pulled. First, get BD-1 to overcharge the panel on the left. Then push the cube to the far end so you can reach up to the higher ledge and use your lightsaber to cut the electrical cable descending from the ceiling. Then head back, push the cube back, but Slow it as it’s being pushed, so that you have time to hop up and wall-run over to the far end of the room. From here you’ll reach a room filled with a Jotaz and a couple of Stormtroopers. Kill them, then head down the path outside on the right, and follow it to reach the planet’s final Stim Upgrade.
Kashyyyk Stim locations
There is just one Stim Canister Upgrade on the Wookiee homeworld of Kashyyyk, but you’ll only be able to reach it after returning to the planet for the second time as part of Cal’s story.
Kashyyyk Stim Canister Upgrade (requires Underwater Breather)
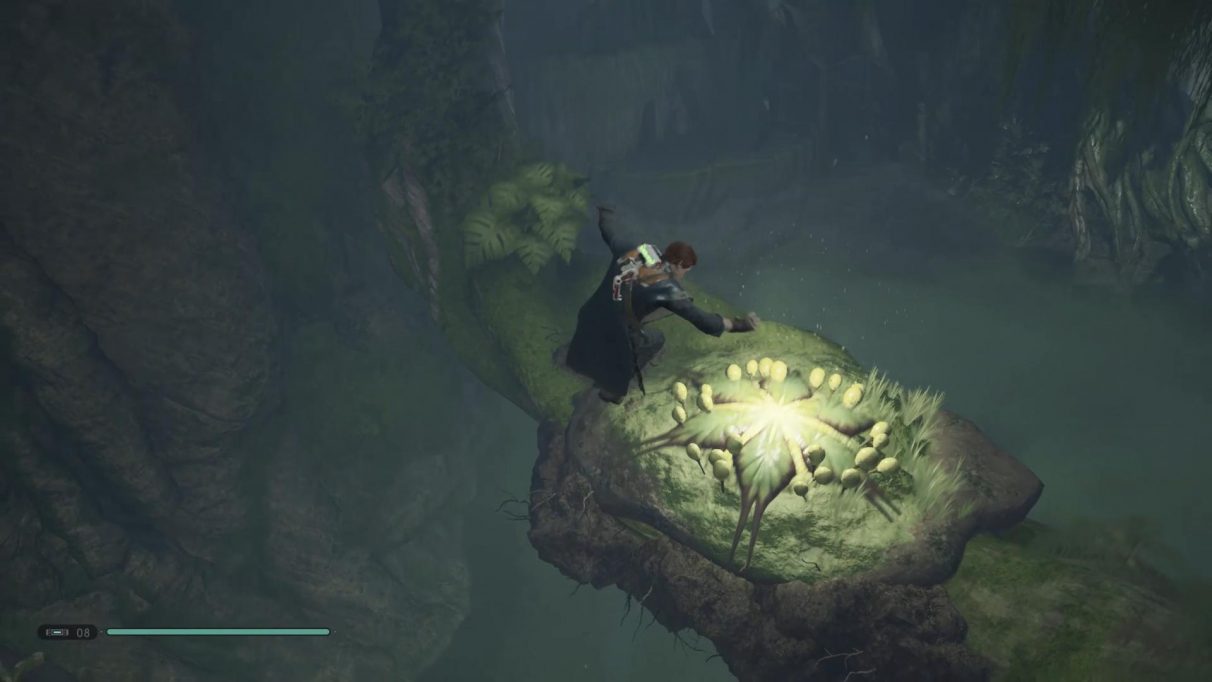
The only ability prerequisite for reaching this Stim Canister Upgrade is the Underwater Breather, which will be given to you upon reaching Chieftain Tarfull - but as mentioned before, you can only reach this point upon your return to Kashyyyk after proceeding through the Tomb of Miktrull on Zeffo. From the Save Point in Origin Lake, dive into the water and swim to the far end of the region, where you’ll find an enormous wall of vines and a Lung Plant to bounce onto the wall from. But instead of bouncing onto the wall, bounce in the opposite direction. You’ll be bounced from Lung Plant to Lung Plant until you reach a top ledge where Kashyyyk’s one and only Stim Canister Upgrade is waiting for you.
Dathomir Stim locations
The final Stim Canister upgrade in Jedi: Fallen Order can be found on Dathomir. You can head to Dathomir immediately after completing the first mission on Bogano, but you won’t be able to reach this upgrade until you’ve unlocked Double Jump, quite late into the campaign.
Dathomir Stim Canister Upgrade (requires Double Jump)
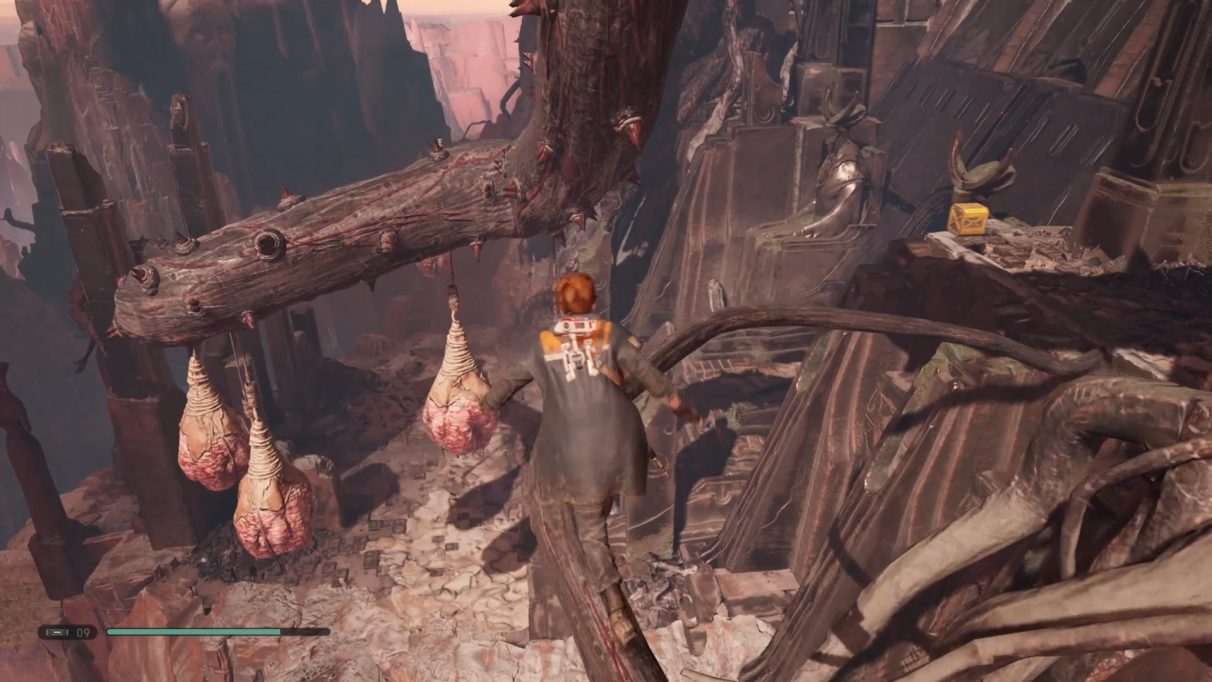
Once you’ve gained Double Jump, head to the entrance of the Tomb of Kujet (just beyond where you first encountered the mysterious black-robed stranger) and then head right. to the area where the Nydak Alpha boss is waiting for you (for tips on defeating this predator, be sure to read our Star Wars Jedi: Fallen Order Nydak Alpha guide!). From here, head down the slide at the far end, and follow the path of wall-running and climbing segments. You’ll reach an area filled with Night Brothers and undead Night Sisters; kill them all, then use the vines on the left to reach the platform where one of the archers had been shooting at you. Follow the path from ledge to ledge, then walk along the pipes to reach the ledge just outside the Tomb of Kujet entrance, where the very last Stim Canister Upgrade in Jedi: Fallen Order can be picked up.
And that’s everything we’ve got for now on Stim Canister upgrade locations in Star Wars Jedi: Fallen Order - but we’ve got plenty more to talk about when it comes to Fallen Order! Check out one of the articles below for in-depth explanations, tips, and walkthroughs for other aspects of this expansive Star Wars experience.
Star Wars Jedi: Fallen Order tips - Find out our eight top tips for players of all skill levels on how to survive your time with Jedi: Fallen Order. Star Wars Jedi: Fallen Order combat - Learn how to wield your lightsaber and the Force like a true Jedi with our combat tips and explanations. Star Wars Jedi: Fallen Order skill tree - This guide features full explanations of every single skill in the skill tree, along with our picks for the best skills to upgrade first! Star Wars Jedi: Fallen Order Force Powers - Learn how and where to unlock Force Push, Force Pull, Double Jump, and more. Star Wars Jedi: Fallen Order lightsaber - Learn the ins and outs of lightsaber customisation, including how to get more colours, and where to find the double-blade and dual-wield lightsaber upgrades. Fallen Order Scomp Link repair - What the hell is a Scomp Link, and how can you get your hands on one? Learn how to open all those locked chests and doors with this guide! Fallen Order Tomb of Eilram - If you’re a puzzle-hater like me, then this guide on completing and escape the Tomb of Eilram in less than 10 minutes is your Holy Grail. Fallen Order Tomb of Miktrull - Find out how to blitz through this nefarious Tomb of torches and vines and raise the Spire of Miktrull with ease! Star Wars Jedi: Fallen Order Stim locations - Use this guide to find all eight Stim Canister Upgrades scattered throughout the game. Star Wars Jedi: Fallen Order Grandmaster - High-level tips and advice on how to beat the game on the hardest difficulty mode available!
Star Wars Jedi: Fallen Order bosses:
Star Wars Jedi: Fallen Order bosses - Our central bosses guides hub will walk you through each of the Fallen order bosses, with some general top tips for tackling any of them. Star Wars Jedi: Fallen Order Oggdo Bogdo - Learn how to take on the game’s first true boss and walk away without even a scratch. Star Wars Jedi: Fallen Order Rabid Jotaz - Evade this fearsome predator’s strikes and carve him up with this in-depth boss walkthrough. Star Wars Jedi: Fallen Order Albino Wyyyschokk - Learn how to easily defeat this monstrous spider without taking a single hit. Star Wars Jedi: Fallen Order Second Sister - Learn to defend yourself against the most powerful of Cal’s foes in this battle on Zeffo. Star Wars Jedi: Fallen Order Ninth Sister - Take down this fearsome Dark Side Inquisitor by learning and adapting to her many unblockable attacks. Star Wars Jedi: Fallen Order Nydak Alpha - Don’t fall for this powerful beast’s ruses! Let our guide teach you the nefarious ways of the Nydak Alpha. Star Wars Jedi: Fallen Order Gorgara - Trim the feathers of this colossal bird with our guide to defeating the Gorgara on Jedi Master difficulty. Star Wars Jedi: Fallen Order Taron Malicos - Show this dual-wielding Sith what for in this epic battle in the ruins of Dathomir. Star Wars Jedi: Fallen Order Trilla - Complete Cal’s destiny by besting the dangerous Trilla Suduri once and for all. Star Wars Jedi: Fallen Order Bounty Hunters - Learn the ins and outs of these deadly late game Haxion Brood Bounty Hunters.
